Fashion in the City of Love
Collab with Rochelle of @Rochelle.handmade.designs
Hi there sewing friends and fashion enthusiasts!
Thank you so much for stopping by my blog today- you sure are in for a treat!
My girl Rochelle of @rochelle.handmade.designs and I have been working hard over the summer to bring you a collection full of inspiration for a summer vacation wardrobe: destination…Paris!
I must admit that while I’ve had the pleasure to visit several European countries, France unfortunately isn’t one of them. Still, when Rochelle approached me with the idea, I jumped at the chance to imagine (and then design) what I would wear given the opportunity to spend a week in the City of Love. Who knows, maybe one day I’ll have the chance to wear some of these pieces when I finally check Paris off my bucket list ;)
Our plan went as follows:
We decided that our imaginary vacation would last 7 days and we created a look for each day based on the following prompts:
Day 1: Airport Look: We’re off to France!
Day 2: Brunch Look: Bon appétit!
Day 3: Sightseeing Look: So much to see, so little time!
Day 4: Museum Tour Look: Can’t go to Paris without visiting The Louvre.
Day 5: Night Out Look: Maybe we’ll visit the discothèque or keep it low key and have dinner and drinks at a nice restaurant (that’s French for Restaurant lol).
Day 6: Shopping Look: Fabric shopping in Paris? Yes, please!
Day 7: Airport Look 2: Au revoir Paris!
We decided each of the 7 looks would feature at least one or more handmade items. These handmade items could either be sewn using a commercial or Indie sewing pattern, self-drafted, or even refashioned if we wanted.
We hope you enjoy what we came up with! Be sure to check out Rochelle’s Youtube video where she breaks down all her looks!
And a few final notes before we jump in. If a pattern I used is still available for sale, I’ve tried to include links to where you can purchase it. I am not an affiliate or anything, but I wanted to make things easy for you in case you get inspired and want to make your own version of something you see here. Fabric links won’t be included because most of my fabric was purchased secondhand.
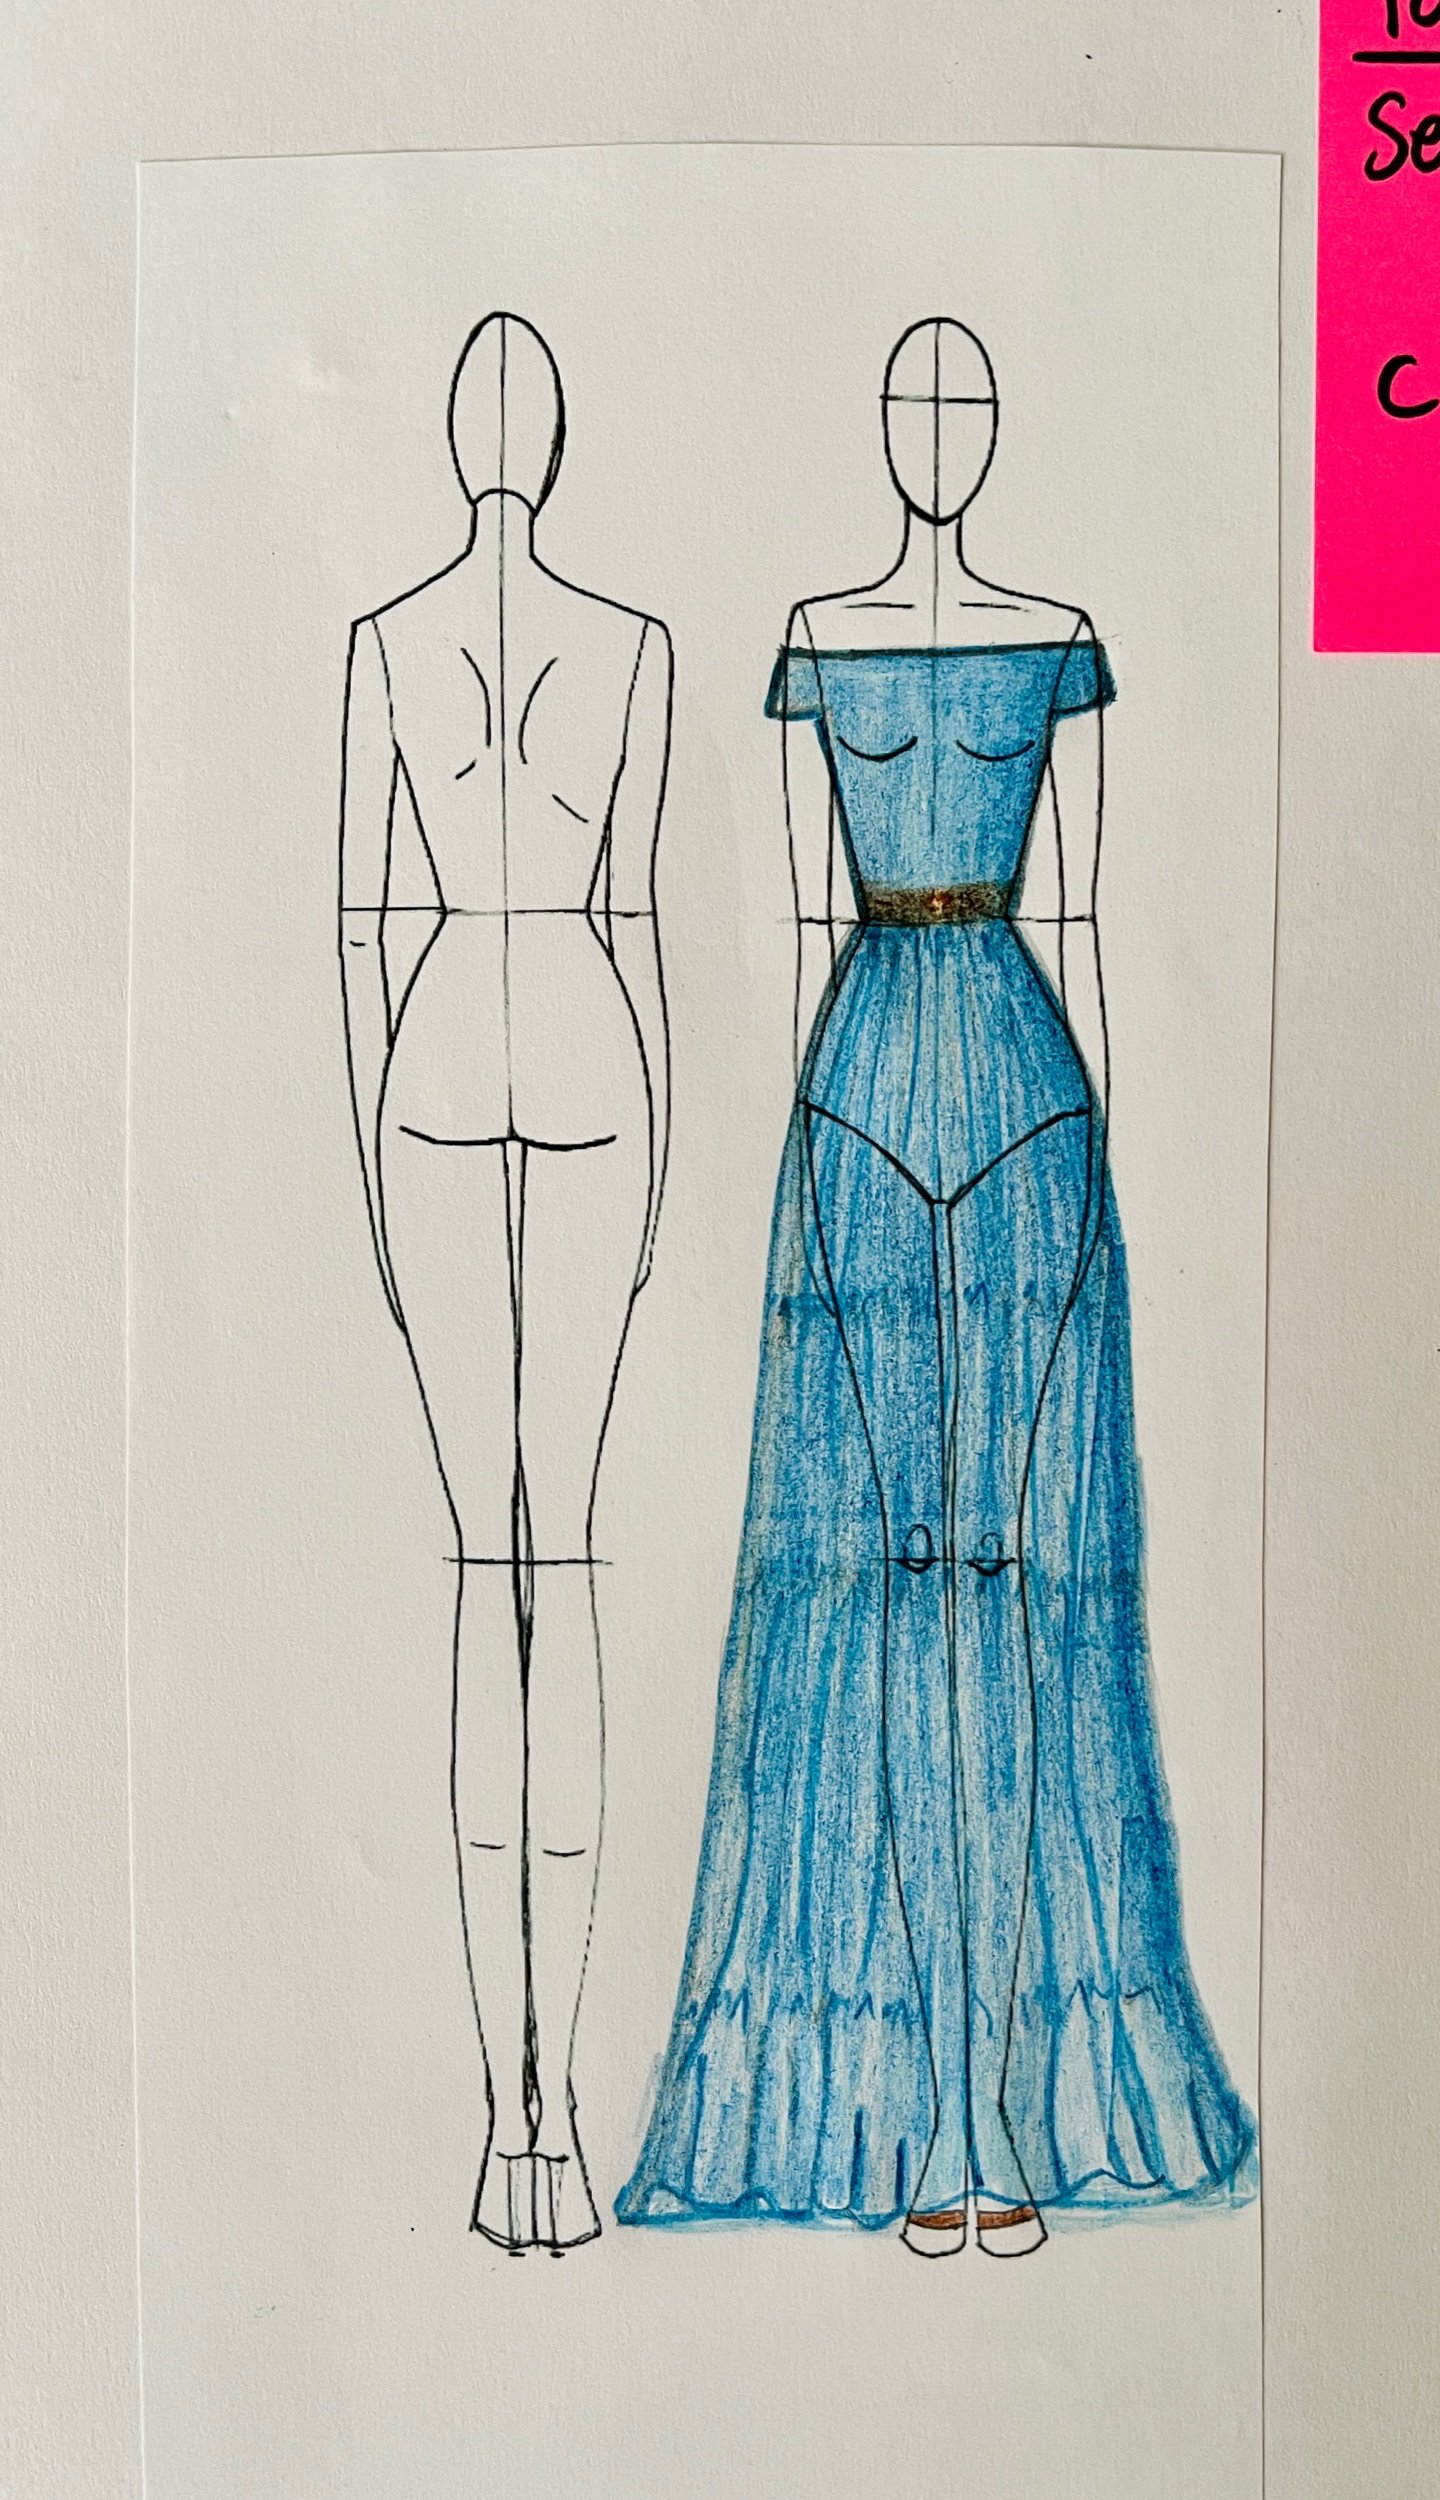
I also had some fun sketching out a few of my looks, so I’ve included those sketches for your viewing pleasure ;) I’m definitely a beginner when it comes to drawing, but I remind myself that I was once a beginner when it comes to sewing, and look at me now! We’ve all gotta start somewhere, right? Anyway, let’s do this!
Oh, and since I didn’t actually go to Paris, don’t expect my brunch photos to be at an actual French cafe. I took these photos wherever I could find good light ;)
Day 1: Airport Look
Handmade items: The Lola Tank by Staystitch Pattern Co. and the Aunt Petunia Bag by Oui Patterns.
Fabric Used: For the Lola Tank I used a t-shirt knit with decent recovery and I actually used swimwear fabric for the neck and armbands. Swimwear fabric has excellent recovery, so I’m hoping it will help avoid the armholes stretching out over time. For the Aunt Petunia Bag, I used pink and indigo non-stretch denim (also featured in my look for Day 3).


Day 2: Brunch Look
Handmade Item: Self-drafted dress
Fabric Used: Navy polyester crepe
This dress was incredibly easy to draft. It’s a simple tiered skirt and the bodice is actually cloned from the bodice of a ready-to-wear jumpsuit that fits me well. If you’d like to learn how to clone your favorite ready-to-wear pieces, check out Mimi G’s video for cloning your favorite t-shirt. The process is pretty much the same for other types of garments, but be mindful that the type of fabric you choose mimics the original fabric (or you might find that your cloned garment doesn’t fit). And if you’re looking to clone jeans, there’s a detailed course specifically on how to clone your favorite jeans in Mimi G’s Sew-it-Academy. You can also learn to draft a tiered skirt there.
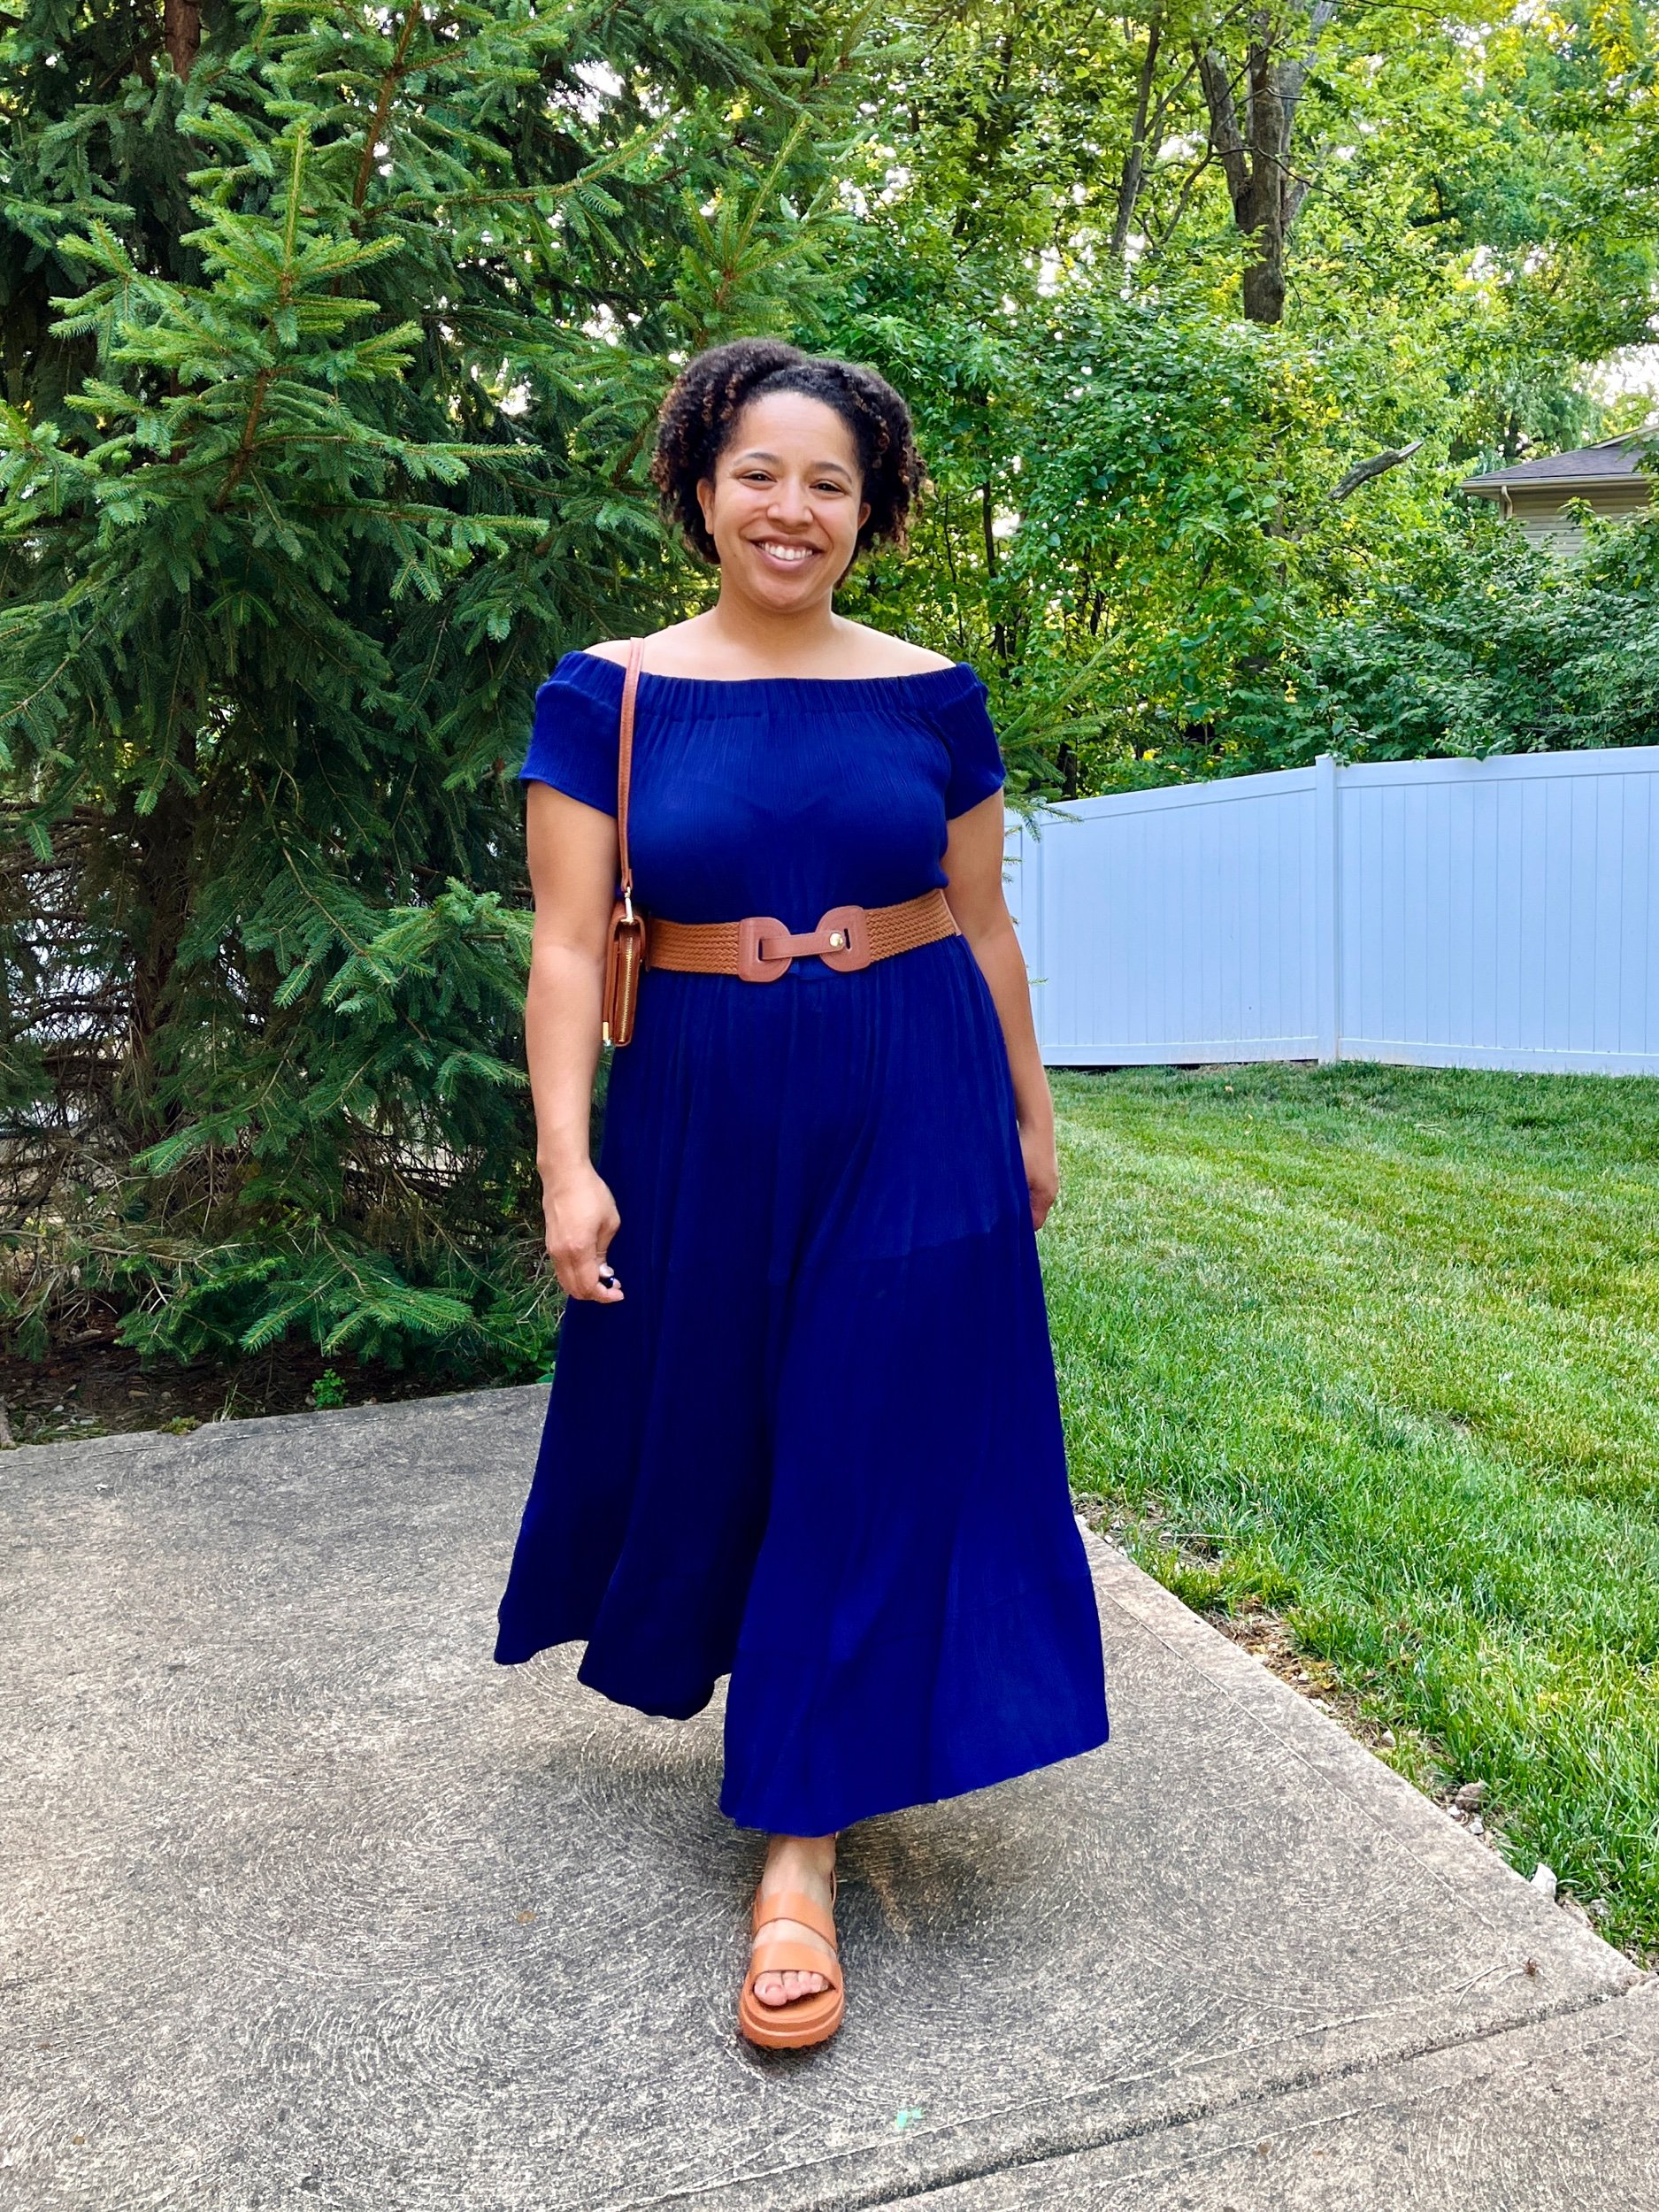
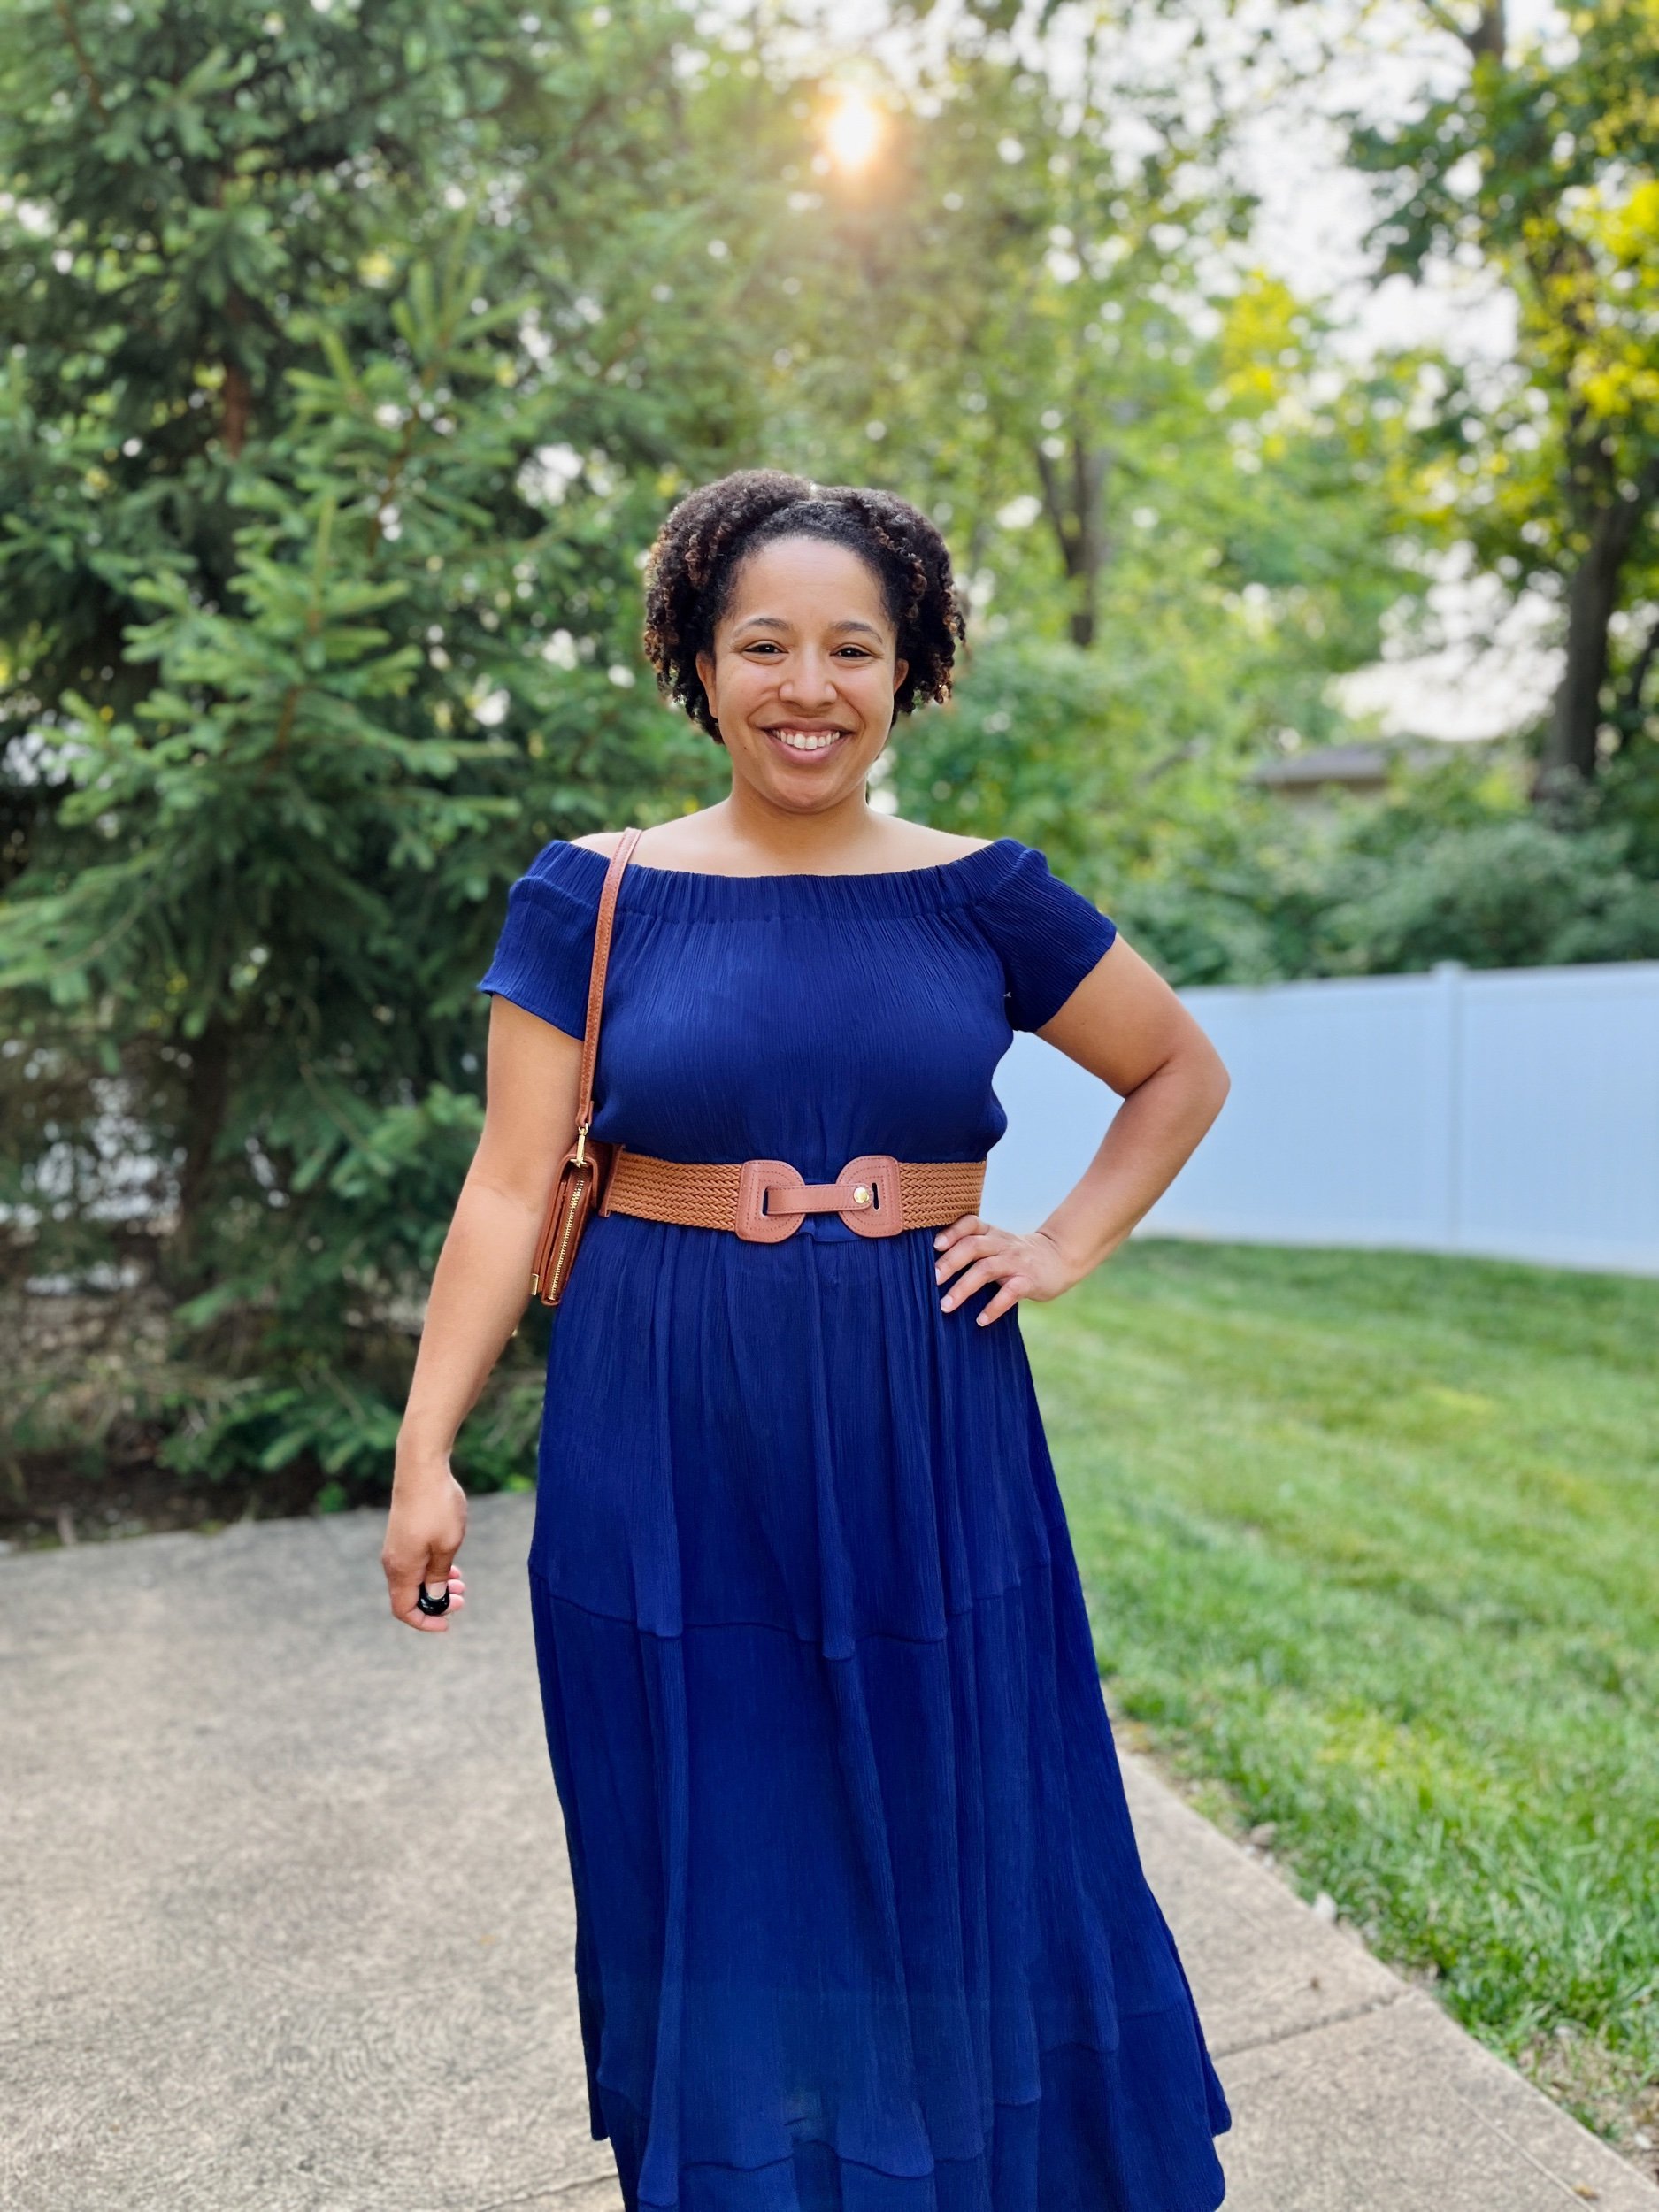
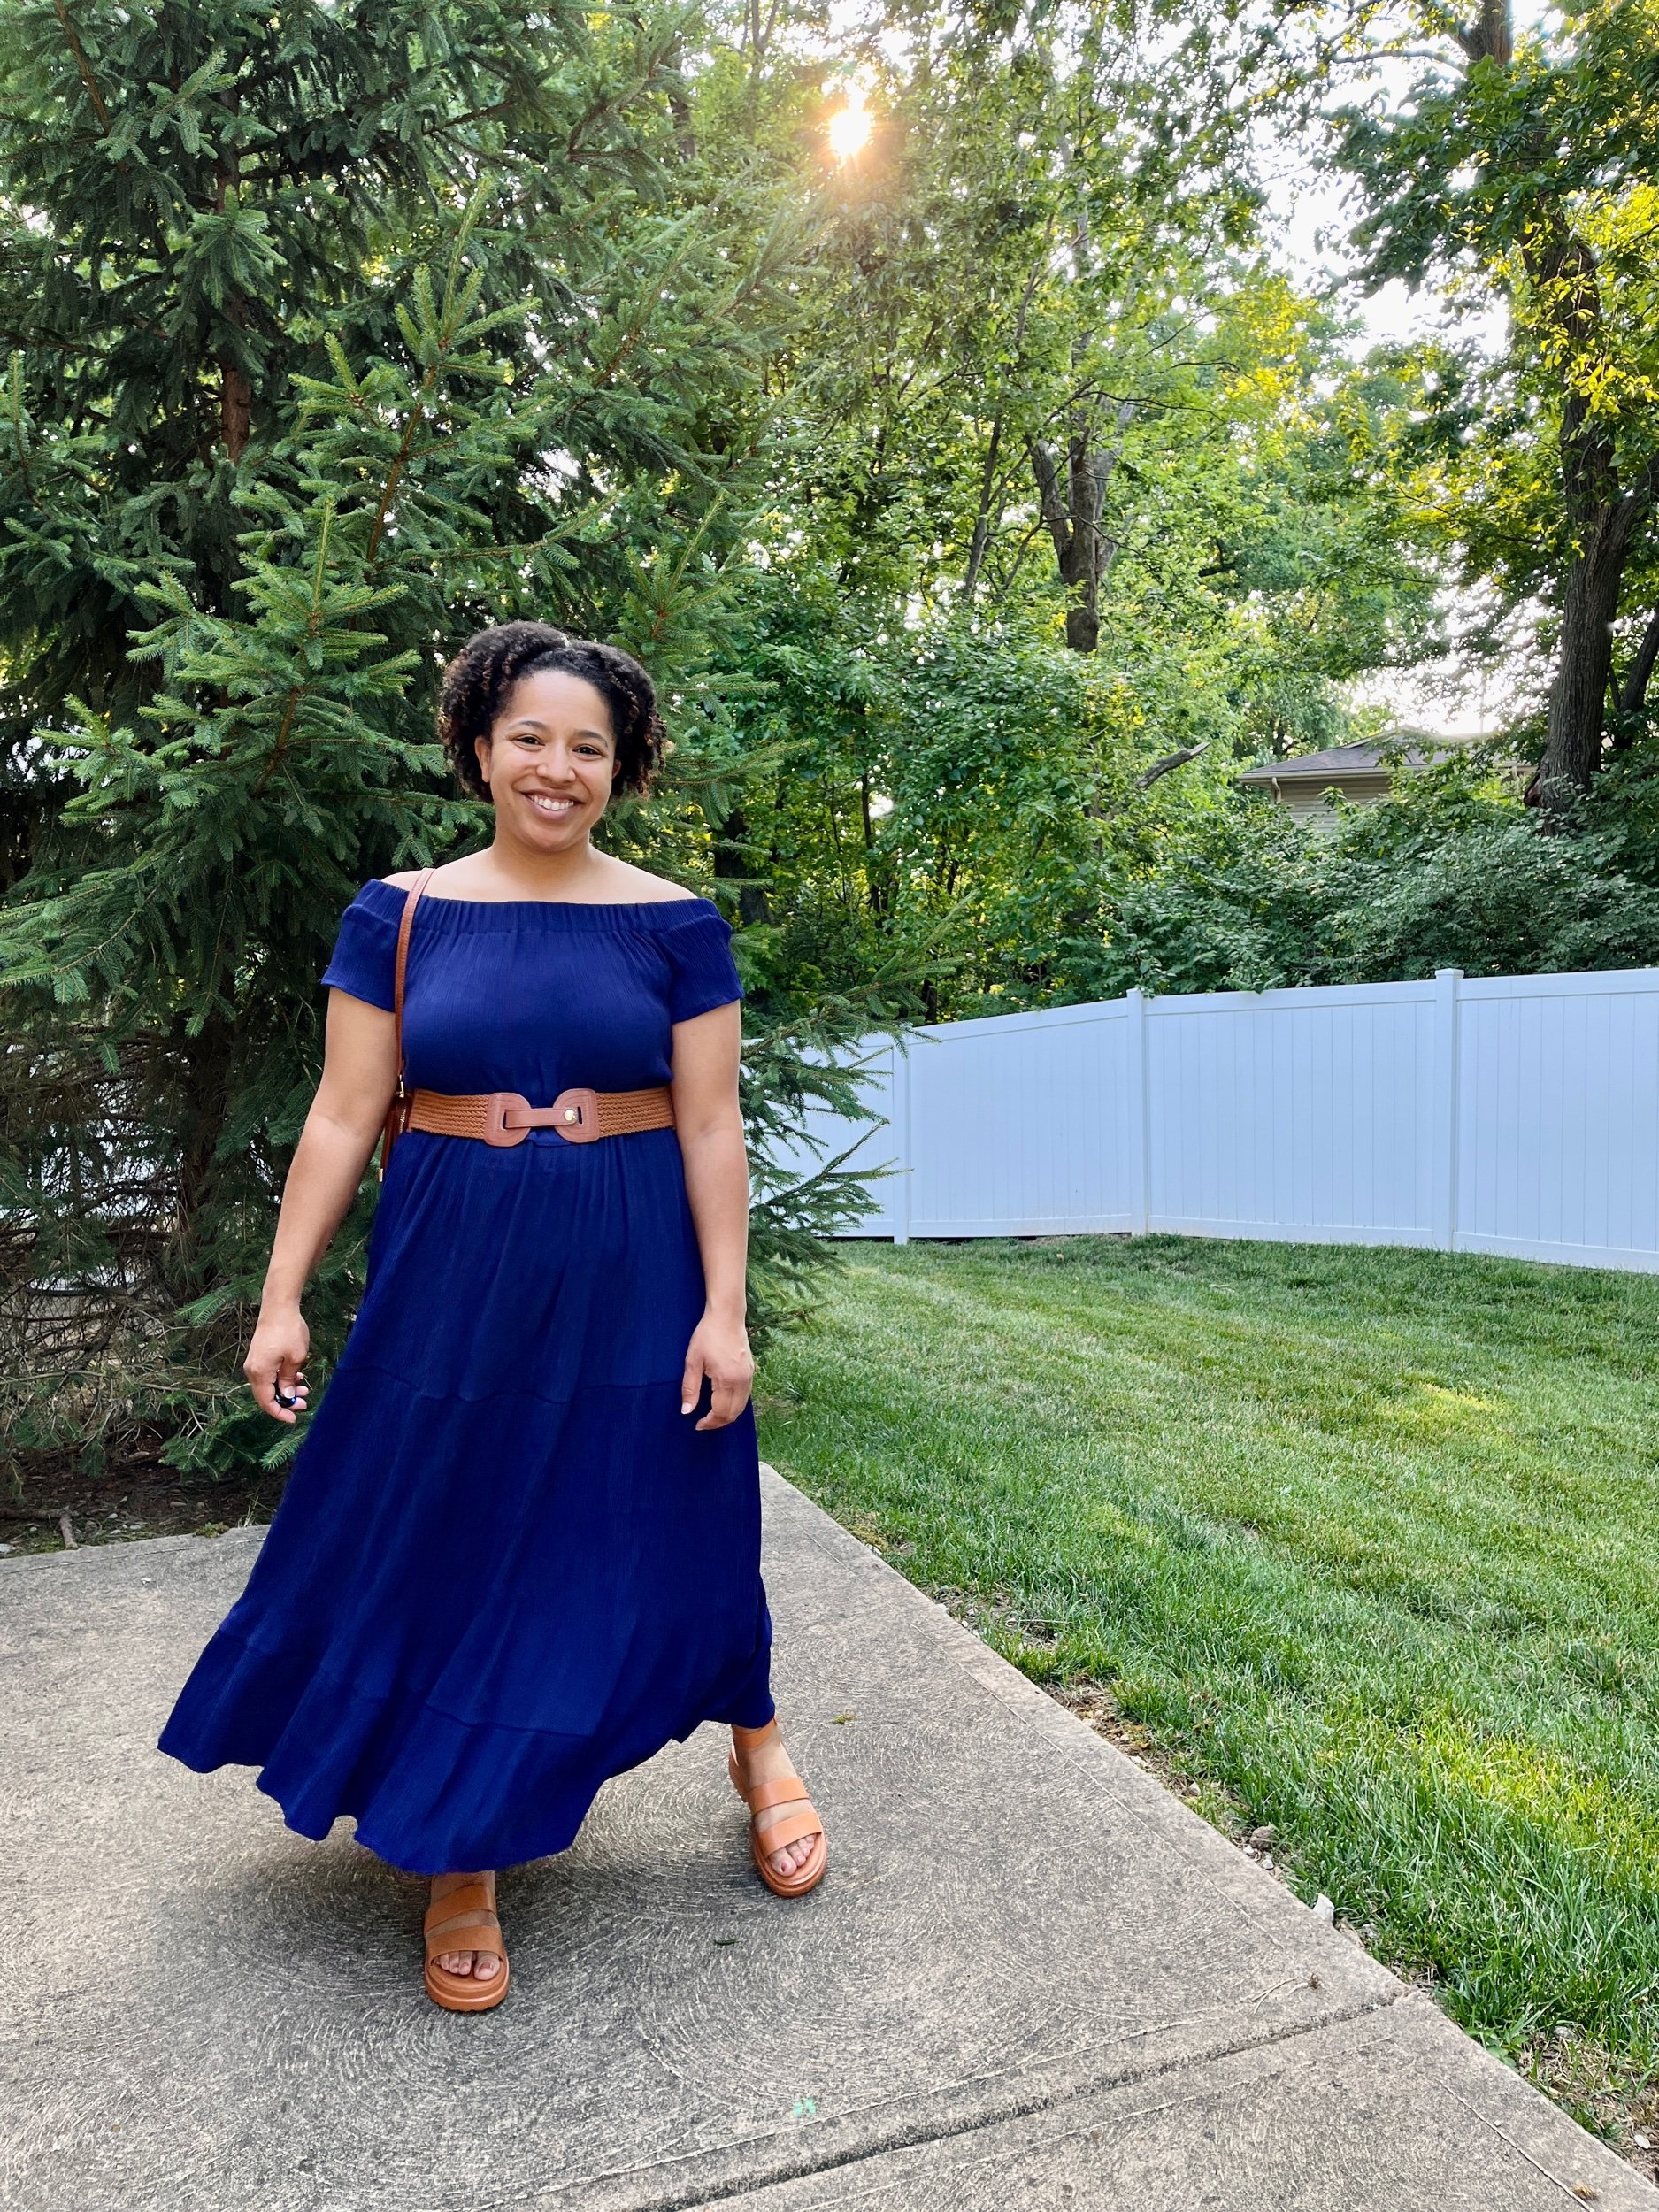
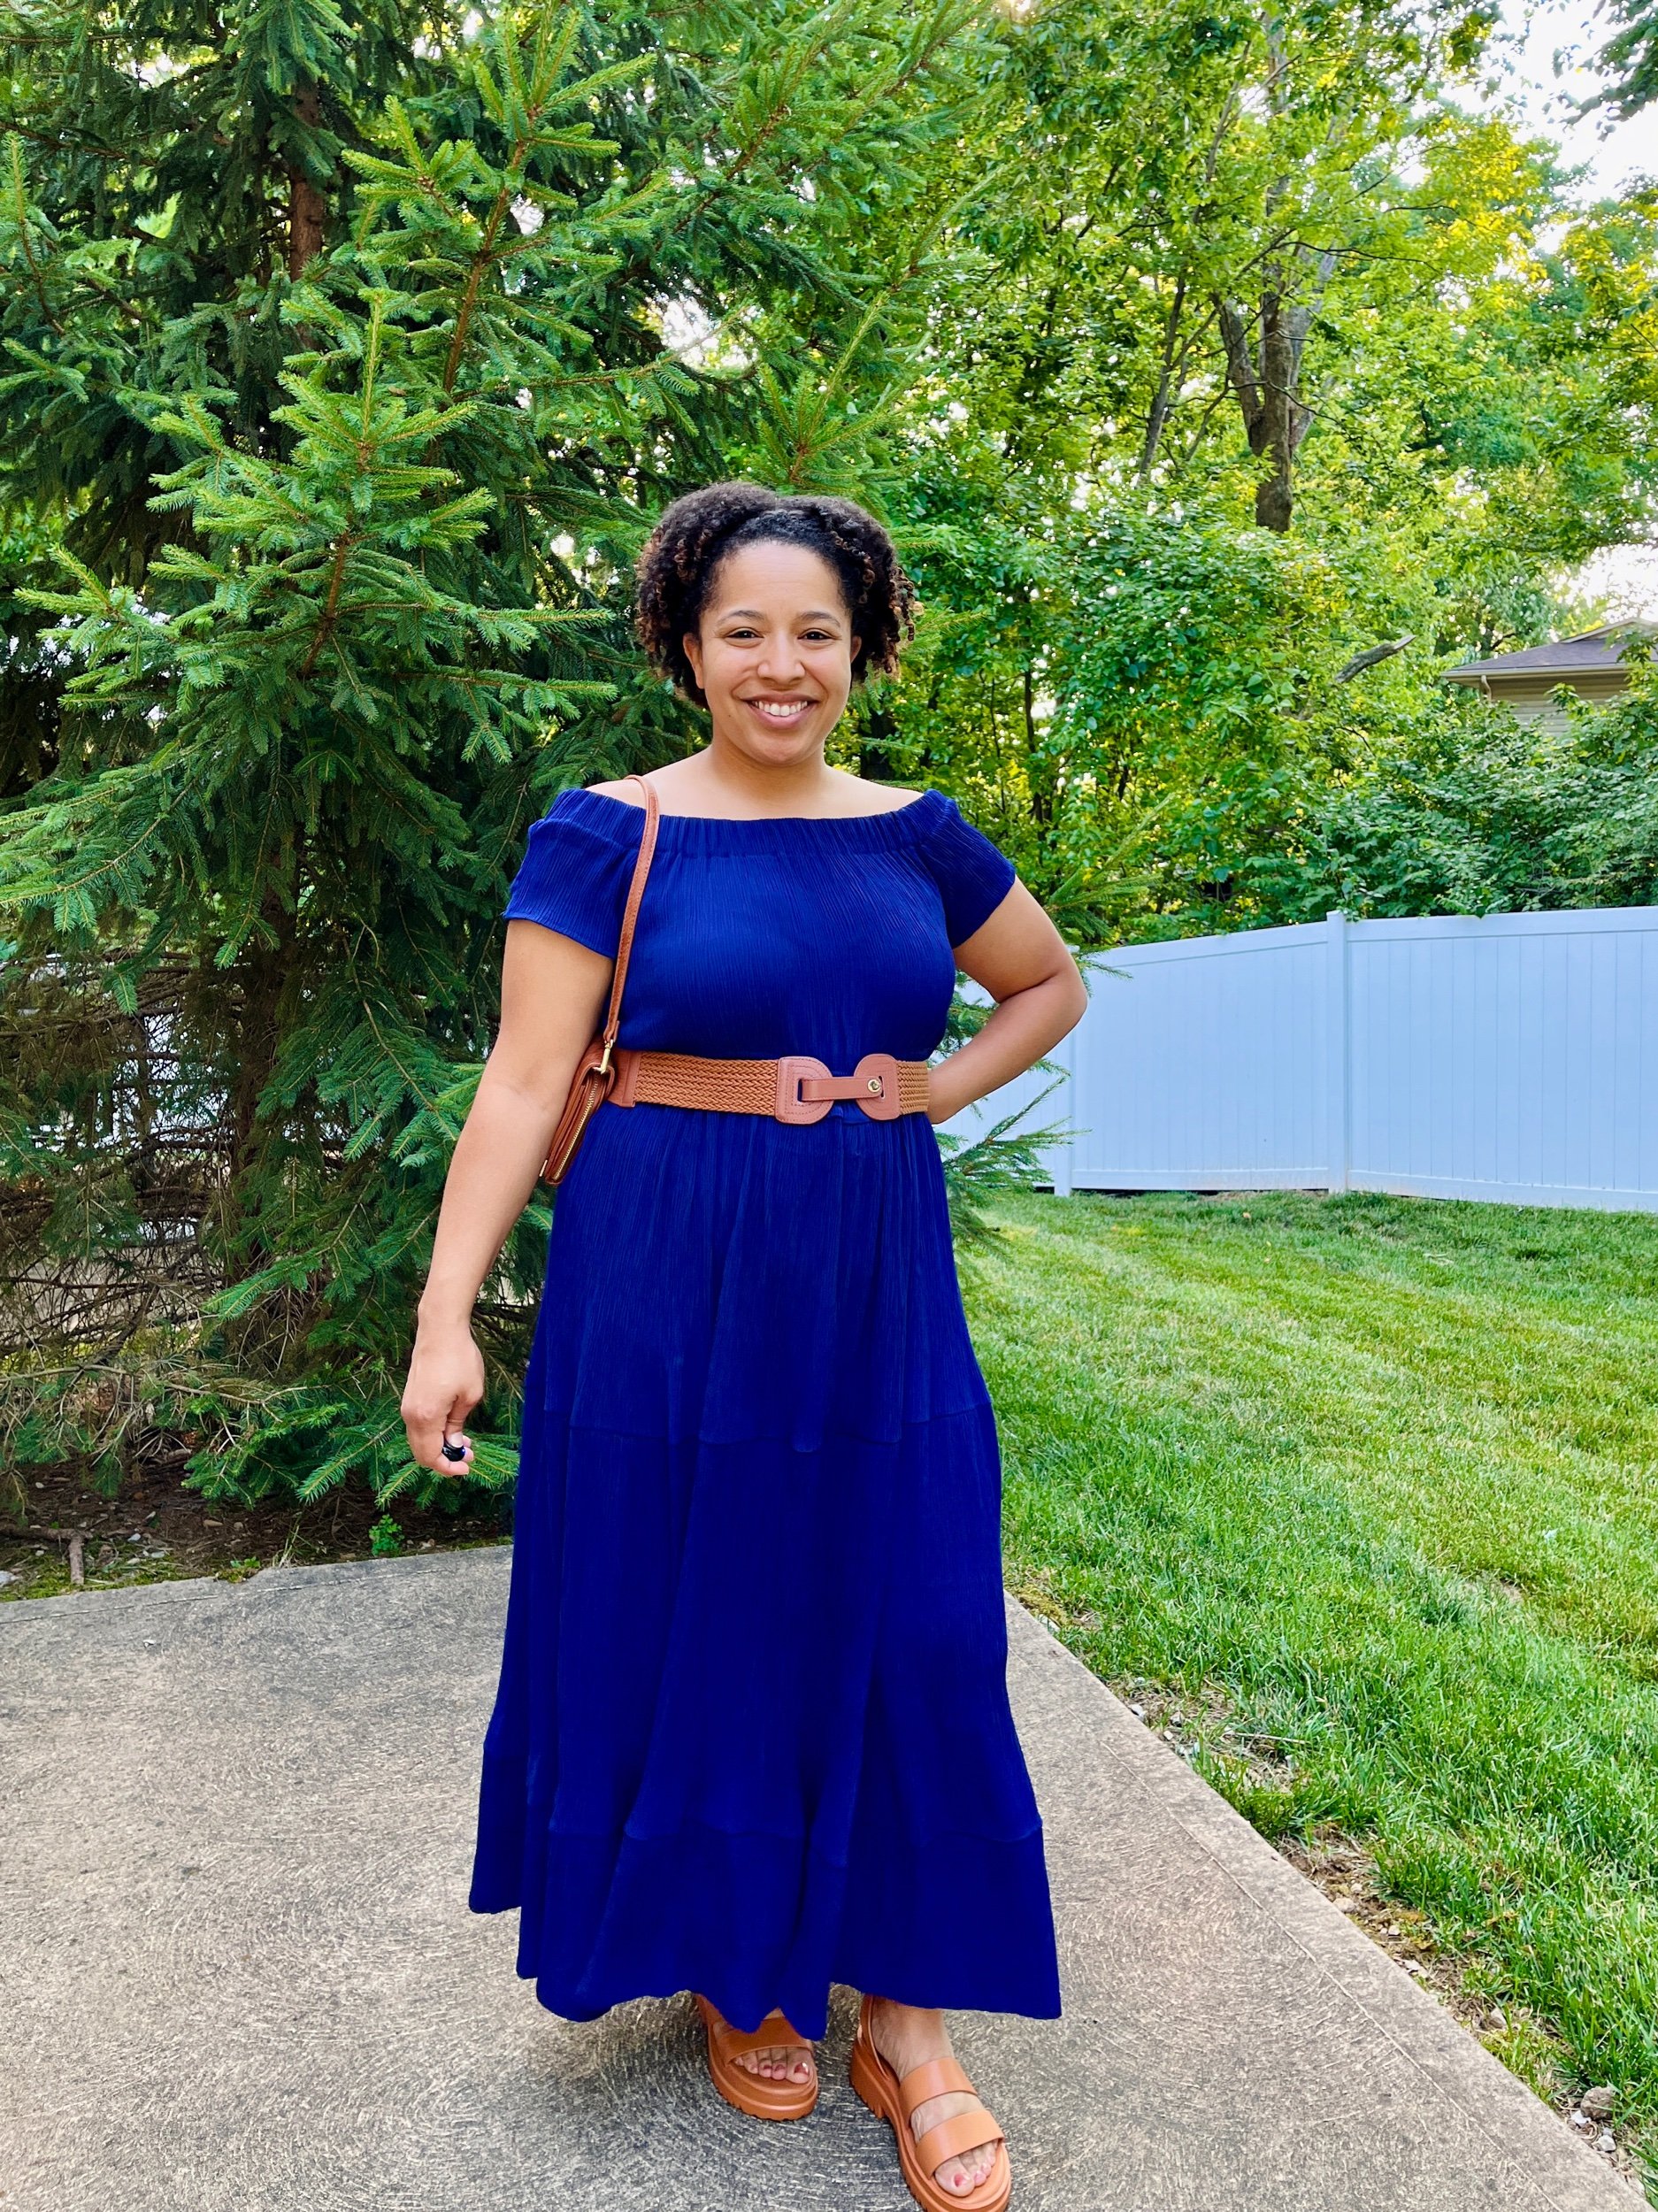
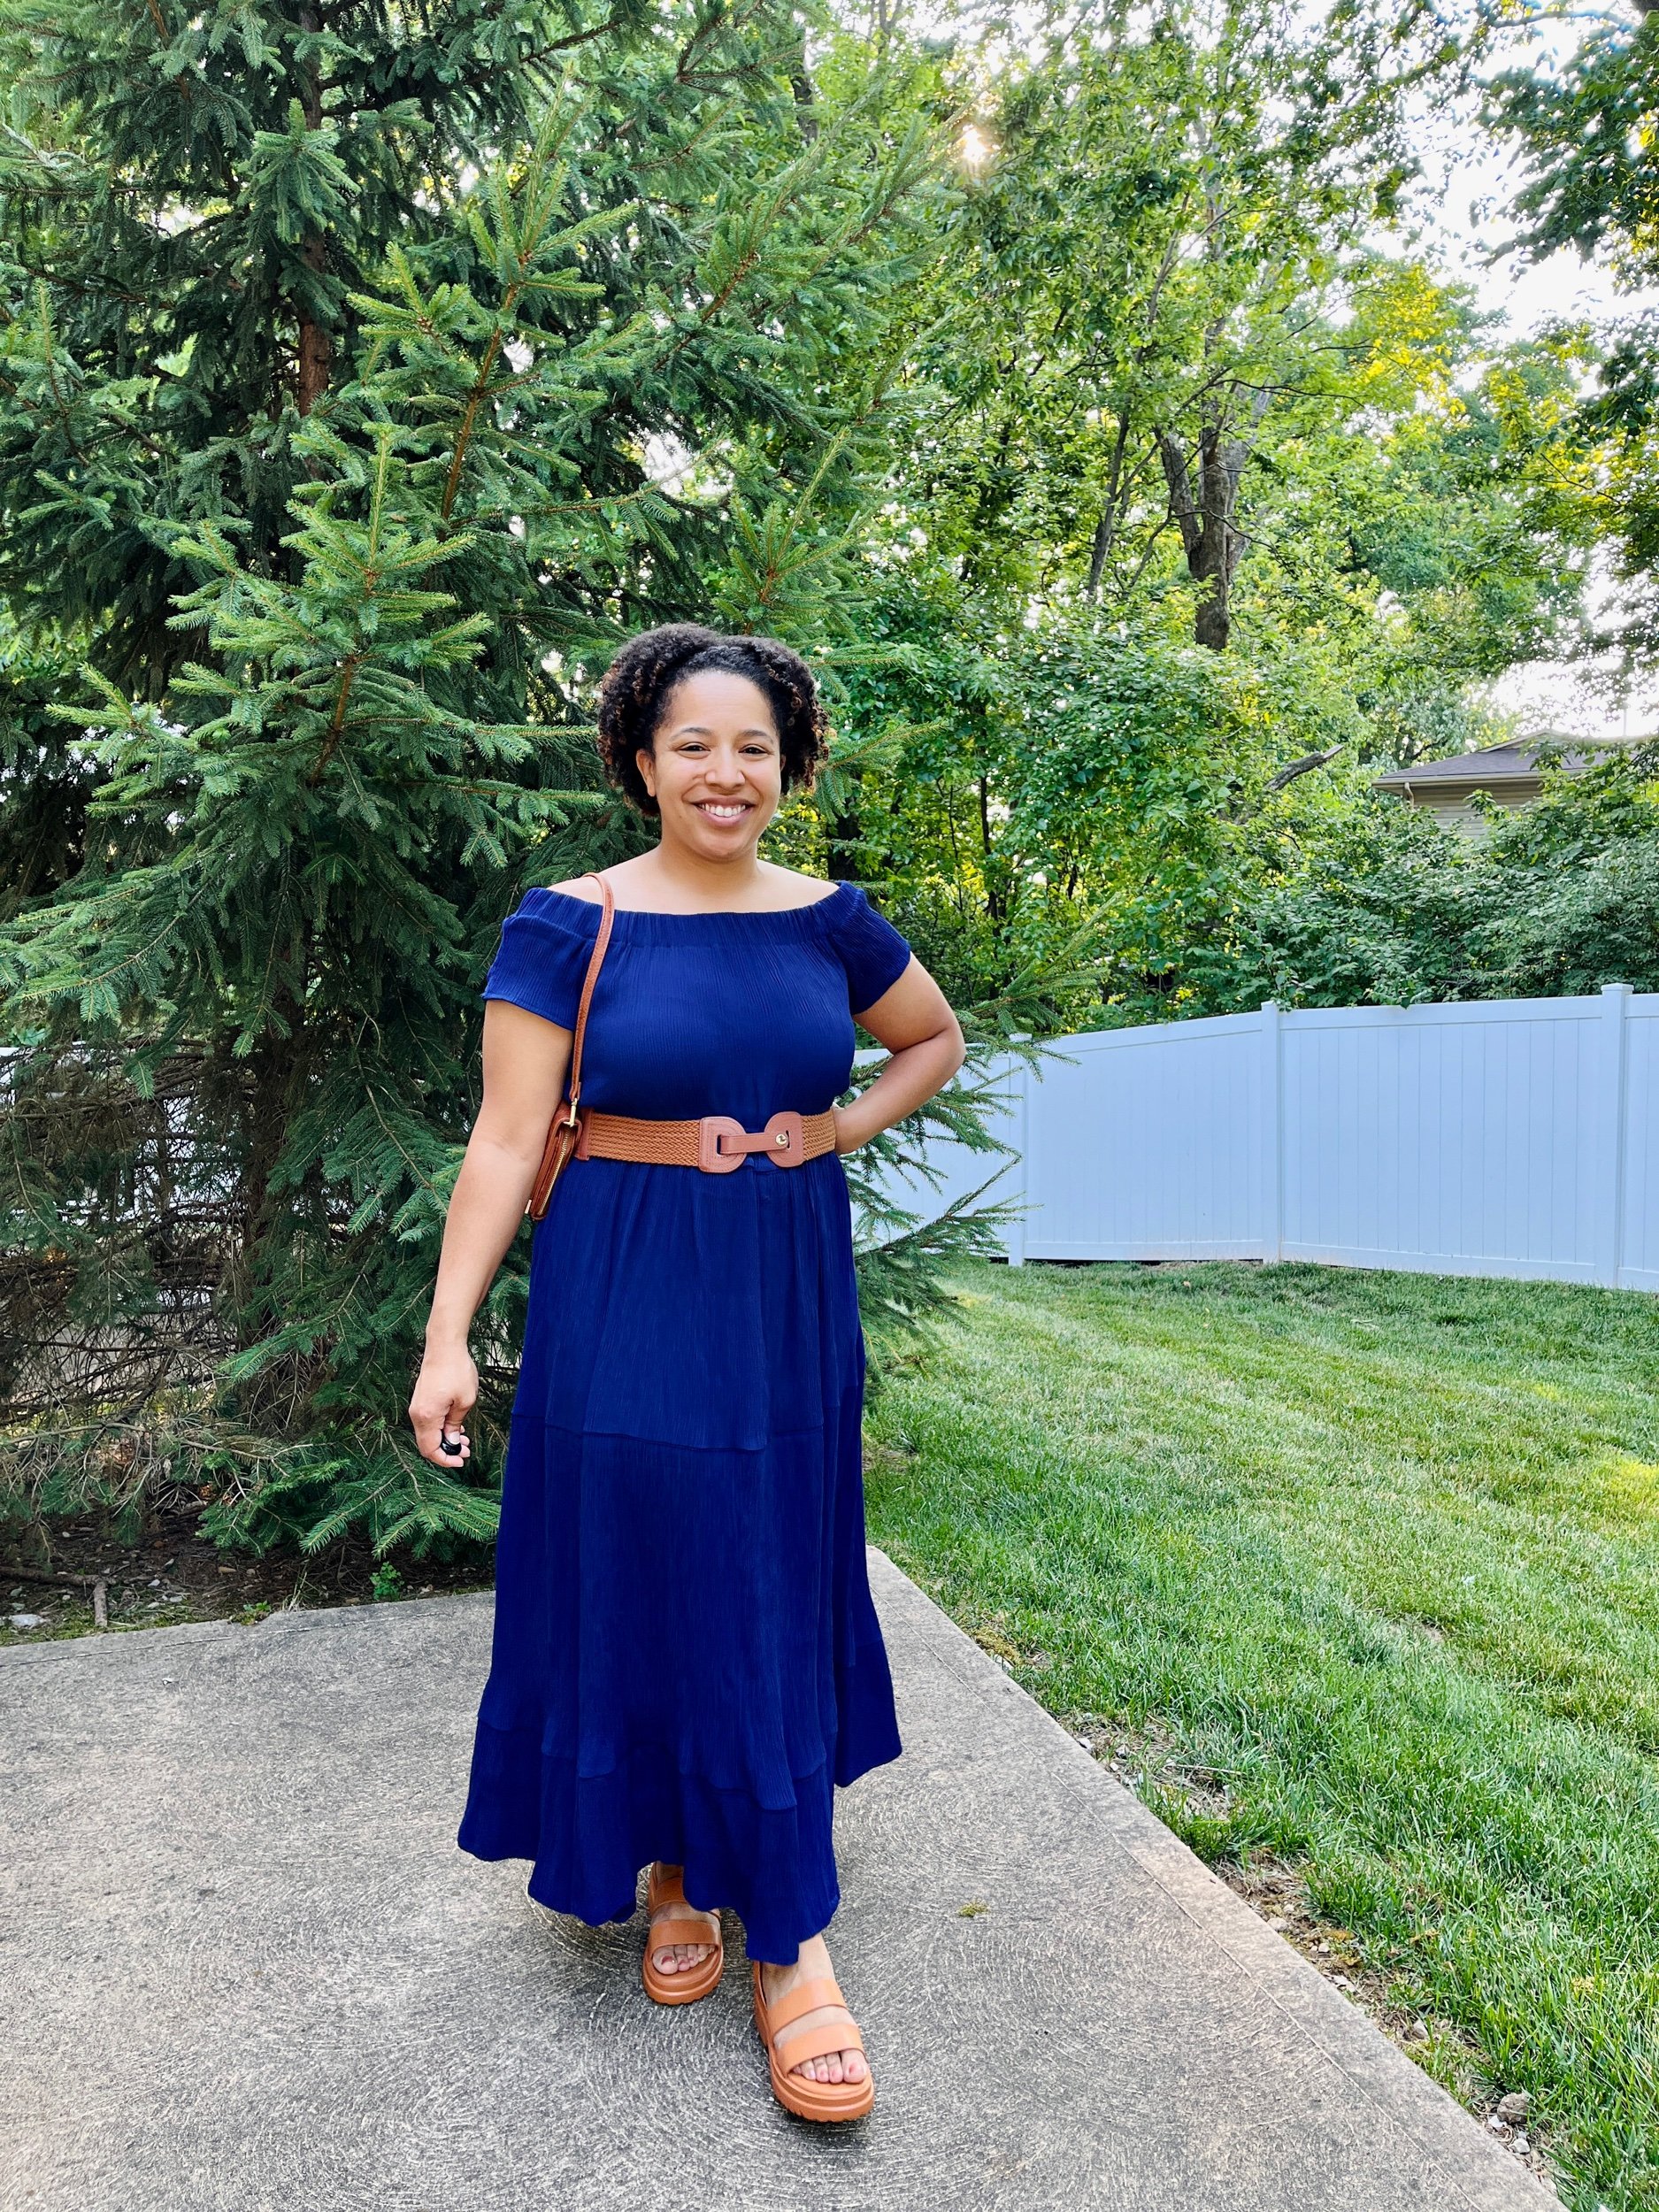
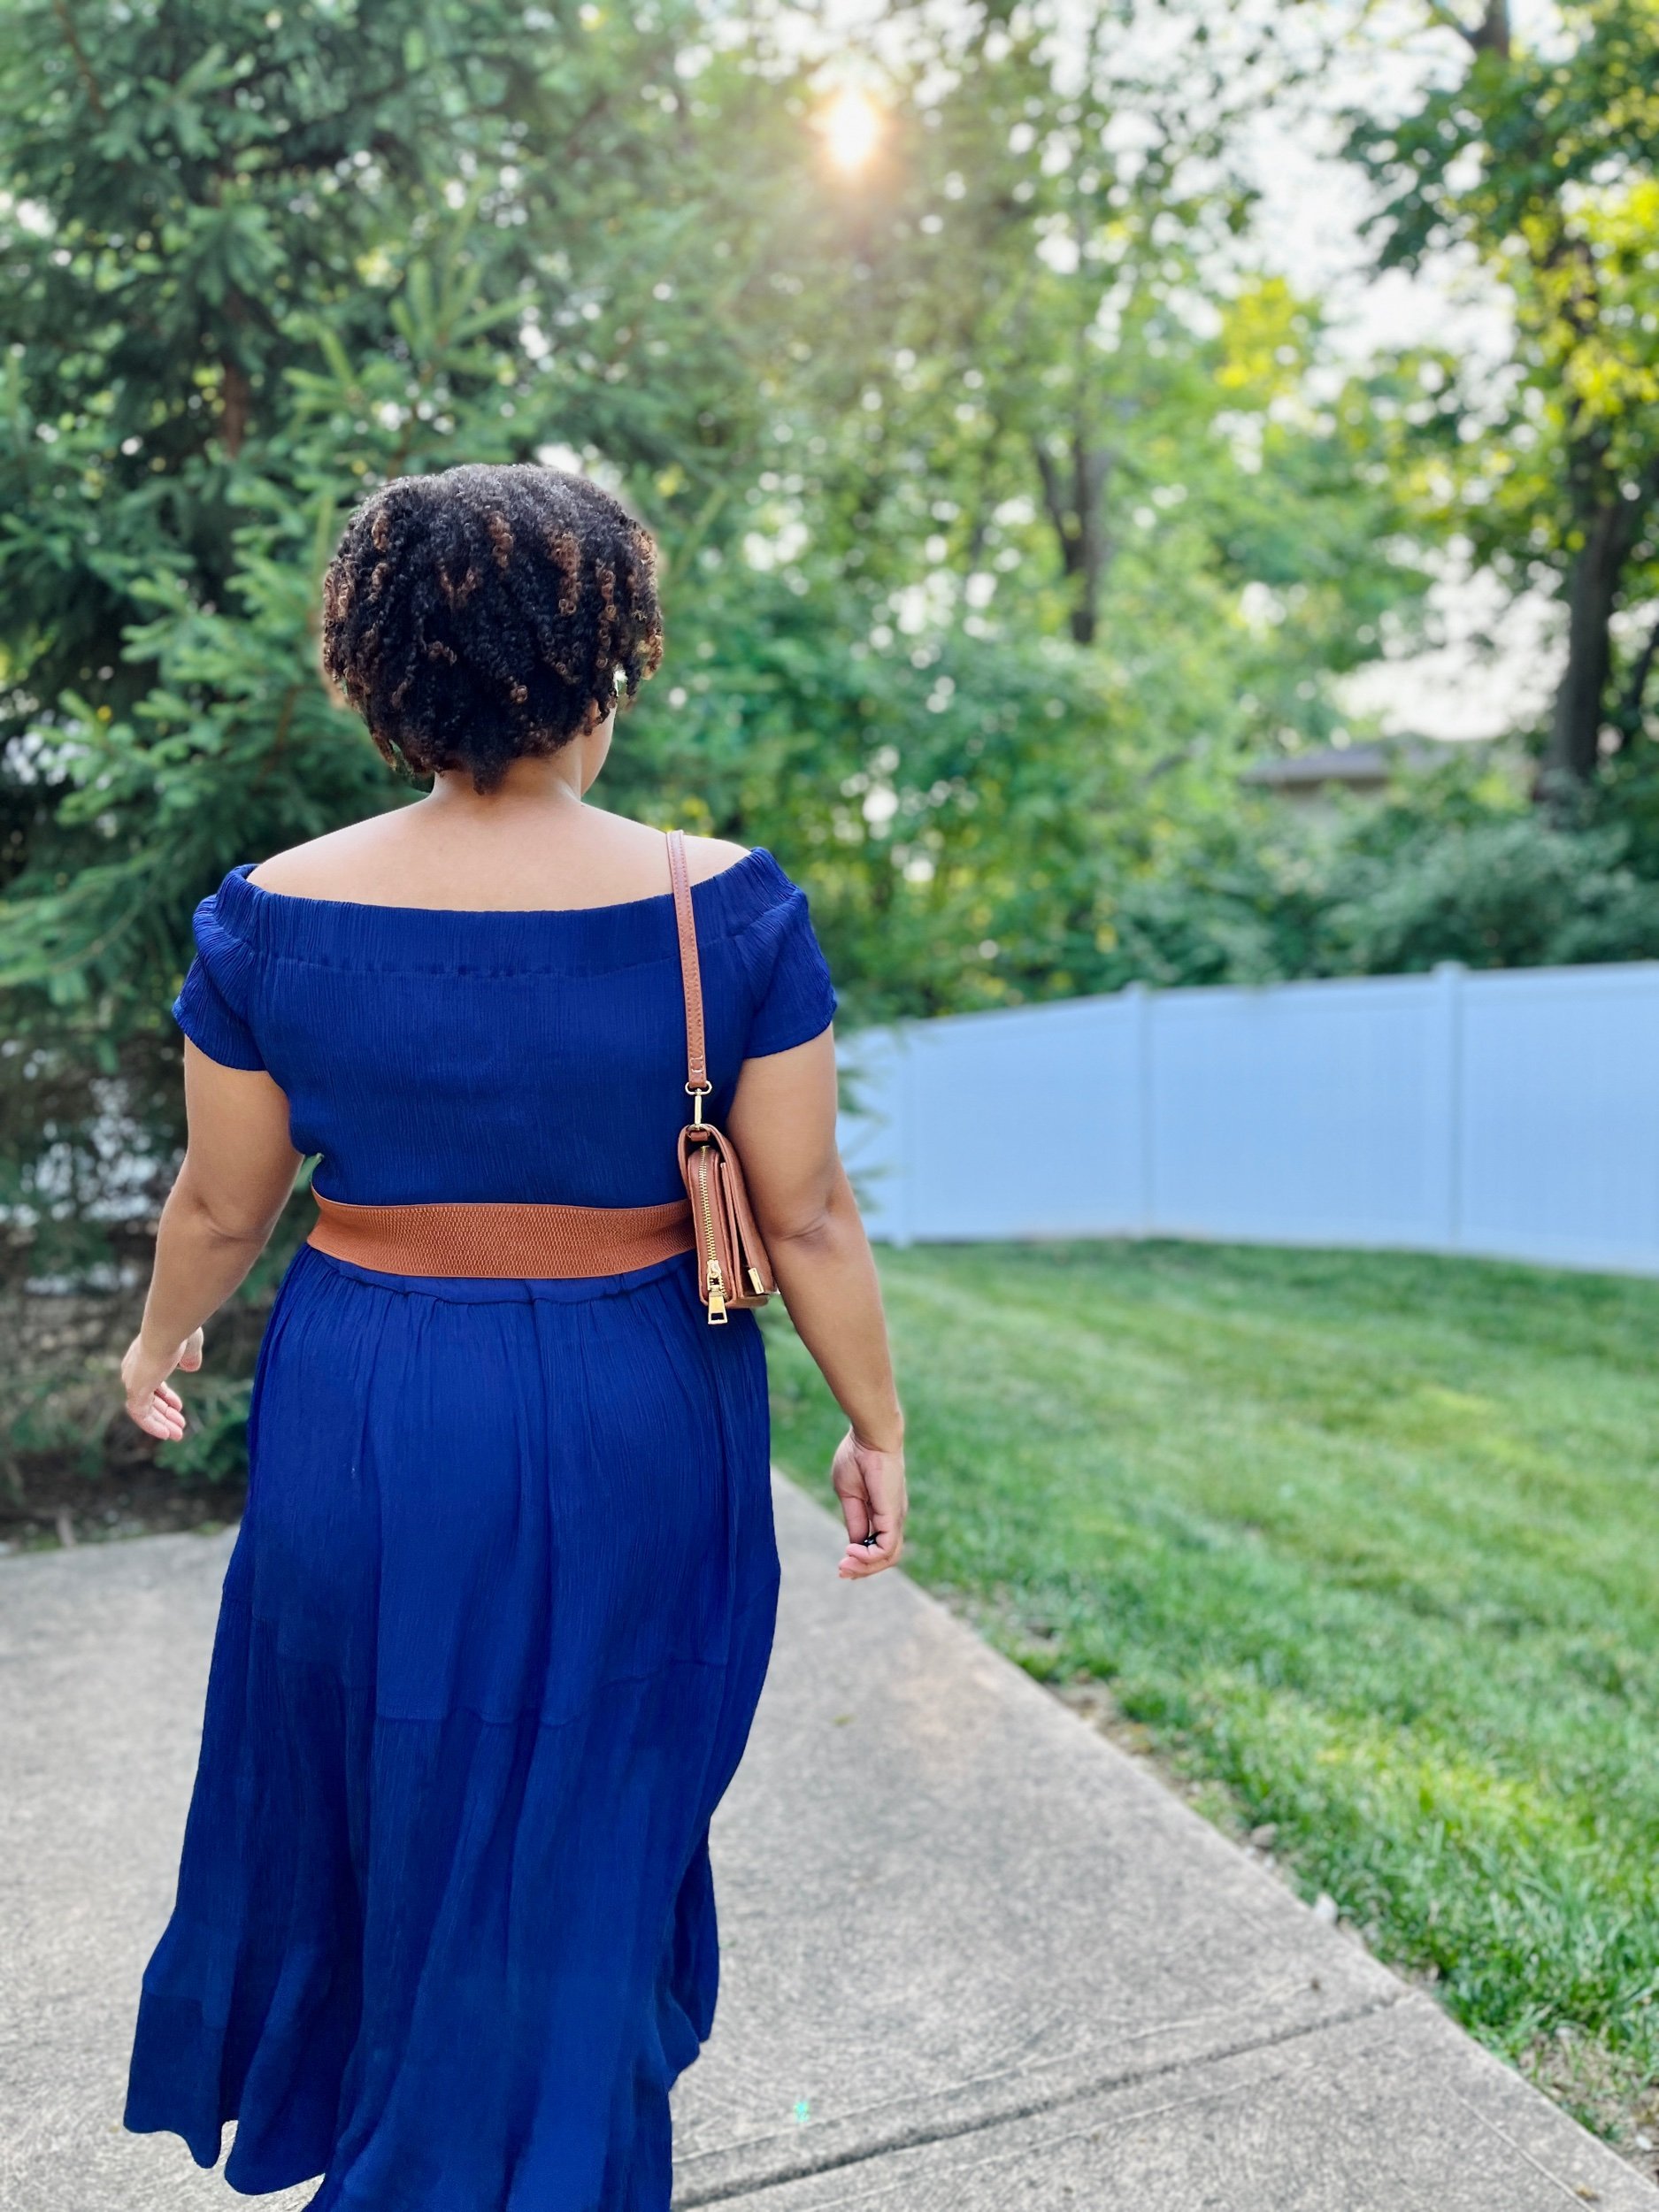
This dress is one of my favorite pieces from this collab. It has so much movement and I feel so elegant when I wear it. I am not in any hurry to sew a tiered skirt again though. All that gathering almost took me out!
Day 3: Sightseeing Look
Handmade Item: Color blocked dress using Simplicity 9260
Fabric Used: I used the same pink and indigo denim that I used for the Aunt Petunia Bag (Day 1), as well as some classic blue denim for the center back pattern pieces. I wish I could say that was a design choice, but it’s really because I ran out of the other fabric lol.


I absolutely LOVE how this dress turned out. And I would totally wear it sightseeing except for one thing…it’s waaaaaaaay too hot to wear this! I don’t know what I was thinking using such a thick denim in the dead of summer. Live and learn I guess lol. Click here for my full review over on patternreview.com.
Day 4: Museum Tour Look
Handmade Item: Leopard print top using Simplicity 8138 (Out of Print)
Fabric Used: I’m honestly not sure what kind of fabric it is, but it’s some sort of lightweight polyester.


Simplicity 8138 is actually a pattern for a maxi-length split hem tunic, but I cropped it on my first version and liked it so much that I made it two more times. See my other versions here and here. Oh and I tried out mixed media with my sketch this time by using a fabric scrap for the top :)
Day 5: Night Out Look
Handmade Items: Navy circle skirt, scarf top, earrings, belt
Materials Used: Lightweight denim for the skirt, polyester silky print for the top, faux leather for the belt and wooden beads, jewelry wire and plastic earring hooks for the earrings (the metal ones irritate my ears).


This look stretched my creativity muscles! I made everything except my purse and shoes, and I didn’t use a single pattern!
The skirt is a half circle skirt. I added a waistband, a center back zipper, and belt loops.
I made the belt by repurposing the straps on a beat up old purse. It took 10 minutes, tops. I just sewed two straps together to get the length long enough to go around my waist. One of the straps already had a buckle attached, so I just laid them side by side (not right sides together- that would be too bulky) and covered the join with a thin piece of fabric in a similar color. The join gets covered with the overlap of the belt once it’s buckled, but if you look closely you can see it. It doesn’t bother me because this belt cost exactly 0 dollars ;)
The earrings I made forever ago, but I love how they compliment the look.
The top is actually a scarf that I made from a rectangular piece of silky fabric that I thrifted. I couldn’t decide what to make out of it, but it was too pretty not to wear so I simply hemmed the edges and now I can wear it lots of different ways. I think a scarf like this is such a versatile piece to bring on vacation! It’s lightweight, so it won’t add much weight to your luggage and it can be tied so many different ways! Having a bad hair day? Throw on a scarf. Forget to pack a belt? Slip it through your belt loops and tie it. Boom, you’ve got a belt! Need an easy summer top? Well, you get the idea. And I understand that scarf tops aren’t everyone’s cup of tea, especially because they may require going braless depending on the size of your scarf and how you tie it. I tied my scarf top halter style this time, but I can see myself wearing it lots of different ways. If you need help or ideas for how to tie your scarf as a top, just go to Pinterest and type in “scarf top tutorial” and you’ll get LOADS of ideas.
Day 6: Shopping Look
Handmade Items: Dress made using KnowMe 2013 for the bodice. The skirt is more or less self-drafted. I tried using a pattern at first, but ended up changing it so drastically that I may as well have started from scratch. My bag is also handmade, but I didn’t use a pattern. You can check out this IG reel I made about how I made it using a thrifted placemat as the stabilizer.
Fabric Used: For the dress, I used some sort of cotton knit. It’s like thick t-shirting or possibly sweatshirting. I also lined the bodice with power mesh. For the bag, I used some African Wax Print I had leftover from the look I created for the February 2023 issue of Sewn Magazine. I got it from House of Mami Wata but it was sold out last I checked.


I had a few fit issues with the bodice and ended up needing to add a center front seam to deal with all of the gaping I was getting at the front neckline. I didn’t manage to get rid of all of it, but I think I salvaged it. I continued the center front seam into the skirt. Out of all the looks I created for this collab, this one so far has gotten the most wear. It’s the perfect dress for this HOT HOT summer. The fabric breathes nicely and it’s an easy dress to throw on with sneakers and head out the door.
Day 7: Airport Look 2
Handmade Item: Pants made using Simplicity 9636
Fabric Used: I believe it’s some kind of activewear fabric. Not sure about the fiber content though.


In my humble opinion, you can’t go wrong with the classic “joggers and graphic tee”. My t-shirt was a lucky thrift story find :)
This was my first time trying this Mimi G leggings pattern, but I knew I wanted mine to fit more like joggers so I sized up. I love the seam details on this pattern. I opted not to do the split hem like the pattern envelop shows, but this pattern sewed up quickly and I can definitely see myself making it again. Click here for my full review on Patternreview.com.
Whew! Ok well that was fun but I’m tired now, so let’s leave it at that.
If you made it this far, THANK YOU SO MUCH for reading! To thank you, I’m offering free shipping on orders over 20 dollars from my shop from now thru August 12, 2023. Just type in the code MERCI at checkout!
Click on the links below to keep exploring and I hope you have a great day!
