
Tablecloth to Skirt - A Beginner Friendly Thrifted Transformation
Have you ever wanted to sew a skirt, but felt intimidated with all the steps involved? Were you nervous to cut into that nice fabric you purchased because you were worried you would make a mistake and ruin it? Well, today I’m sharing an easy and quick method to create a skirt that only takes a few steps and is made with a thrifted tablecloth. If you make a mistake, you’ve only waisted a few dollars and you can always try again the next time you come across a suitable tablecloth while out thrifting. Yay treasure hunt! And also, don’t forget to either re-donate or reuse the fabric.
I’ve made several skirts out of tablecloths and no one ever seems to notice what they’re made out of. At the end of the day, fabric is fabric, so style up your tablecloth skirt and rock it! The key is to pick a tablecloth that is the correct shape and made from a material that you can visualize yourself wearing as a skirt. For example, since I’m only 5’1” I personally avoid any prints that are too bold or would draw too much attention downward. Stripes can be tricky as well, so for beginners I definitely recommend solid colors.
A few notes before we jump in:
There are lots of tutorials out there for how to transform a tablecloth into a skirt, so if this is something you’re really interested in doing, use google and choose the tutorial that works best for you. The purpose of this tutorial is to show the quickest way that I’ve personally found to go from tablecloth to skirt as quickly and easily as possible. So, you will notice that my skirt does not have a zipper, pockets, or even an elastic casing for the waistband. If you want to learn how to do those things, that’s awesome and you definitely should! But you won’t learn them here today. If, on the other hand, you want to create a wearable skirt in record time, you came to the right place!
Here’s what you need to complete this project:
A tablecloth
There are loads of tablecloths that can be transformed into beautiful skirts, but for today’s project we’re going with a ROUND tablecloth in order to create a circle skirt. Rectangular and oval shaped tablecloths can also be transformed into skirts, but the steps would be different than what I’m showing here today.
When you’re out thrifting for your tablecloth, be sure to pay attention to the length. To check it, fold the tablecloth in half and hold the folded edge up to your waist. Standing up straight, look at where the hem falls and decide if the skirt will be long enough (not all tablecloths will work). The great news is that if it’s long enough and you like the length, you won’t actually have to hem the skirt later on. This is a huge timesaver!!
Since we’re thrifting, check the tablecloth for any rips, stains, or other damage before purchasing! You don’t want to be disappointed after you get it home and start working on your project. Wash and dry it however you plan to care for it after its sewn into a skirt. If it still has a tag on it, follow those washing instructions.
Elastic
I recommend choosing your elastic AFTER you’ve chosen your tablecloth so that you can match the color. My tablecloth was red, so I went with red elastic. You can also choose to go with a contrasting color if that’s a look you’re going for. Remember, we’re saving time by not creating a casing for the elastic, so it’s important to choose one that will look nice once the skirt is finished.
Sewing supplies
Scissors (preferably pinking shears), measuring tape, thread, fabric chalk or washable marker, sewing machine, and sewing pins. It’s also helpful if you have a serger and an iron, but those are optional for this project.
Hip Measurement
To get the waistline measurement for this skirt, we are actually going to use our HIP measurement. We won’t be installing a zipper, so the waist of the skirt needs to be big enough for you to pull it on over your hips. You can calculate this yourself number yourself by measuring around your hips at the widest point and then dividing that number by 6.28. Write this number down and save it for later.
Now gather up your supplies and let’s get to it!
Step 1:
Lay out your tablecloth. Fold it in half, then in half again.

I laid mine out on my yoga mat, but any flat surface will do.

Here I have it folded in half once.

And here you can see I’ve folded it in half again.
Step 2:
Use your measuring tape to mark out your waist opening.

Using a measuring tape and chalk (or washable marker), create a curved line marking out the number that your wrote down earlier (your hip measurement divided by 6.28).
Do this by anchoring the tape at the corner where the tablecloth is folded. You can anchor it with a pin or just hold it there with your fingers as you gently rotate the measuring tape from one edge of the fabric to the other, making dash markings with the chalk as you go. It’s important to make sure the tape doesn’t shift or move at the corner or you’ll get an inaccurate line. You can see here that my measurement for this one 6.5 inches. So I placed the 6.5 inch mark of the measuring tape at the corner of the fabric and rotated the tape until I had marked a curve from one side to the other.
If you’re not sure about your measurement, it’s better to err on the side of caution and go smaller, rather than larger. Once you make the cut, gently try on the skirt, being careful not to stretch out the opening. If it doesn’t easily go over your hips, stop, refold it and cut away a bit more. Repeat this process until you are happy with it, but don’t cut off too much!!
Also, if you don’t have a serger, I recommend cutting with pinking shears so that your project doesn’t start to unravel after the first wash.
Step 3
Add your elastic

I was lucky enough to have a big old roll of red elastic, that matched my tablecloth nicely. It’s just coincidence that it has a rippled edge. Regular elastic is fine.

Note: I used my serger to clean up the raw edge of the waistline, but if you don’t have one, you can finish this edge with a zigzag stitch or just leave it alone. It should be fine if you cut it out with pinking shears.
I used a very unscientific way to measure my elastic. I wrapped it around my waist until it was snug but not tight and cut about a half inch more than that measurement. I brought the ends of it together and sewed it them in order to create a circle. Note that your elastic should be smaller than the waist opening.
From there, you need to divide the elastic into four even sections (marking them with pins) and do the same for the skirt opening.

With the elastic on the outside (or what we call the right side of the fabric) match up your pins and pin the elastic to the skirt waist.

Once you have the initial 4 sections pinned, add a BUNCH more pins to keep the elastic in place as you sew. You will need to stretch the elastic slightly.

It’s time to sew your elastic to the skirt! Take your time with this step. Line up the edge of the elastic with the edge of your presser foot (or whatever seam allowance you choose). Start your stitch by stitching forward and then backstitching a few stitches. Then continue stitching forward until you go all the way around the waist. Keep the edge of the skirt even with the edge of the elastic. You will need to stretch the elastic slightly to keep it flush with the edge of the skirt waist. This is what allows it to go over your hips without falling off of your waist in the end.
Remove your pins as you go and enjoy this step because you are almost done!!
You may wish to use a zigzag stitch (or use a stretch thread) so your stitches don’t pop later when you stretch the waistband. However, I’m a rebel and didn’t do this and my skirt is still holding up fine.
Step 4
Final touches
Once your elastic is attached, you are essentially done, but there are a few additional steps you may wish to take to ensure your skirt looks the best it possibly can.
On mine, I opted to topstitch the waistband and give it a gentle press (not that I do NOT recommend putting the iron directly on your elastic).
I liked the length of mine, so I didn’t mess with the hem (my tablecloth had a lettuce hem), but if your skirt is too long you may wish to hem it. I don’t have a tutorial for that, but you can check out this video by Professor Pincushion if you need help with hemming.
Step 5
Rock your new skirt!!

I’m in love with how it turned out! It pairs perfectly with this sweater vest I made last year.
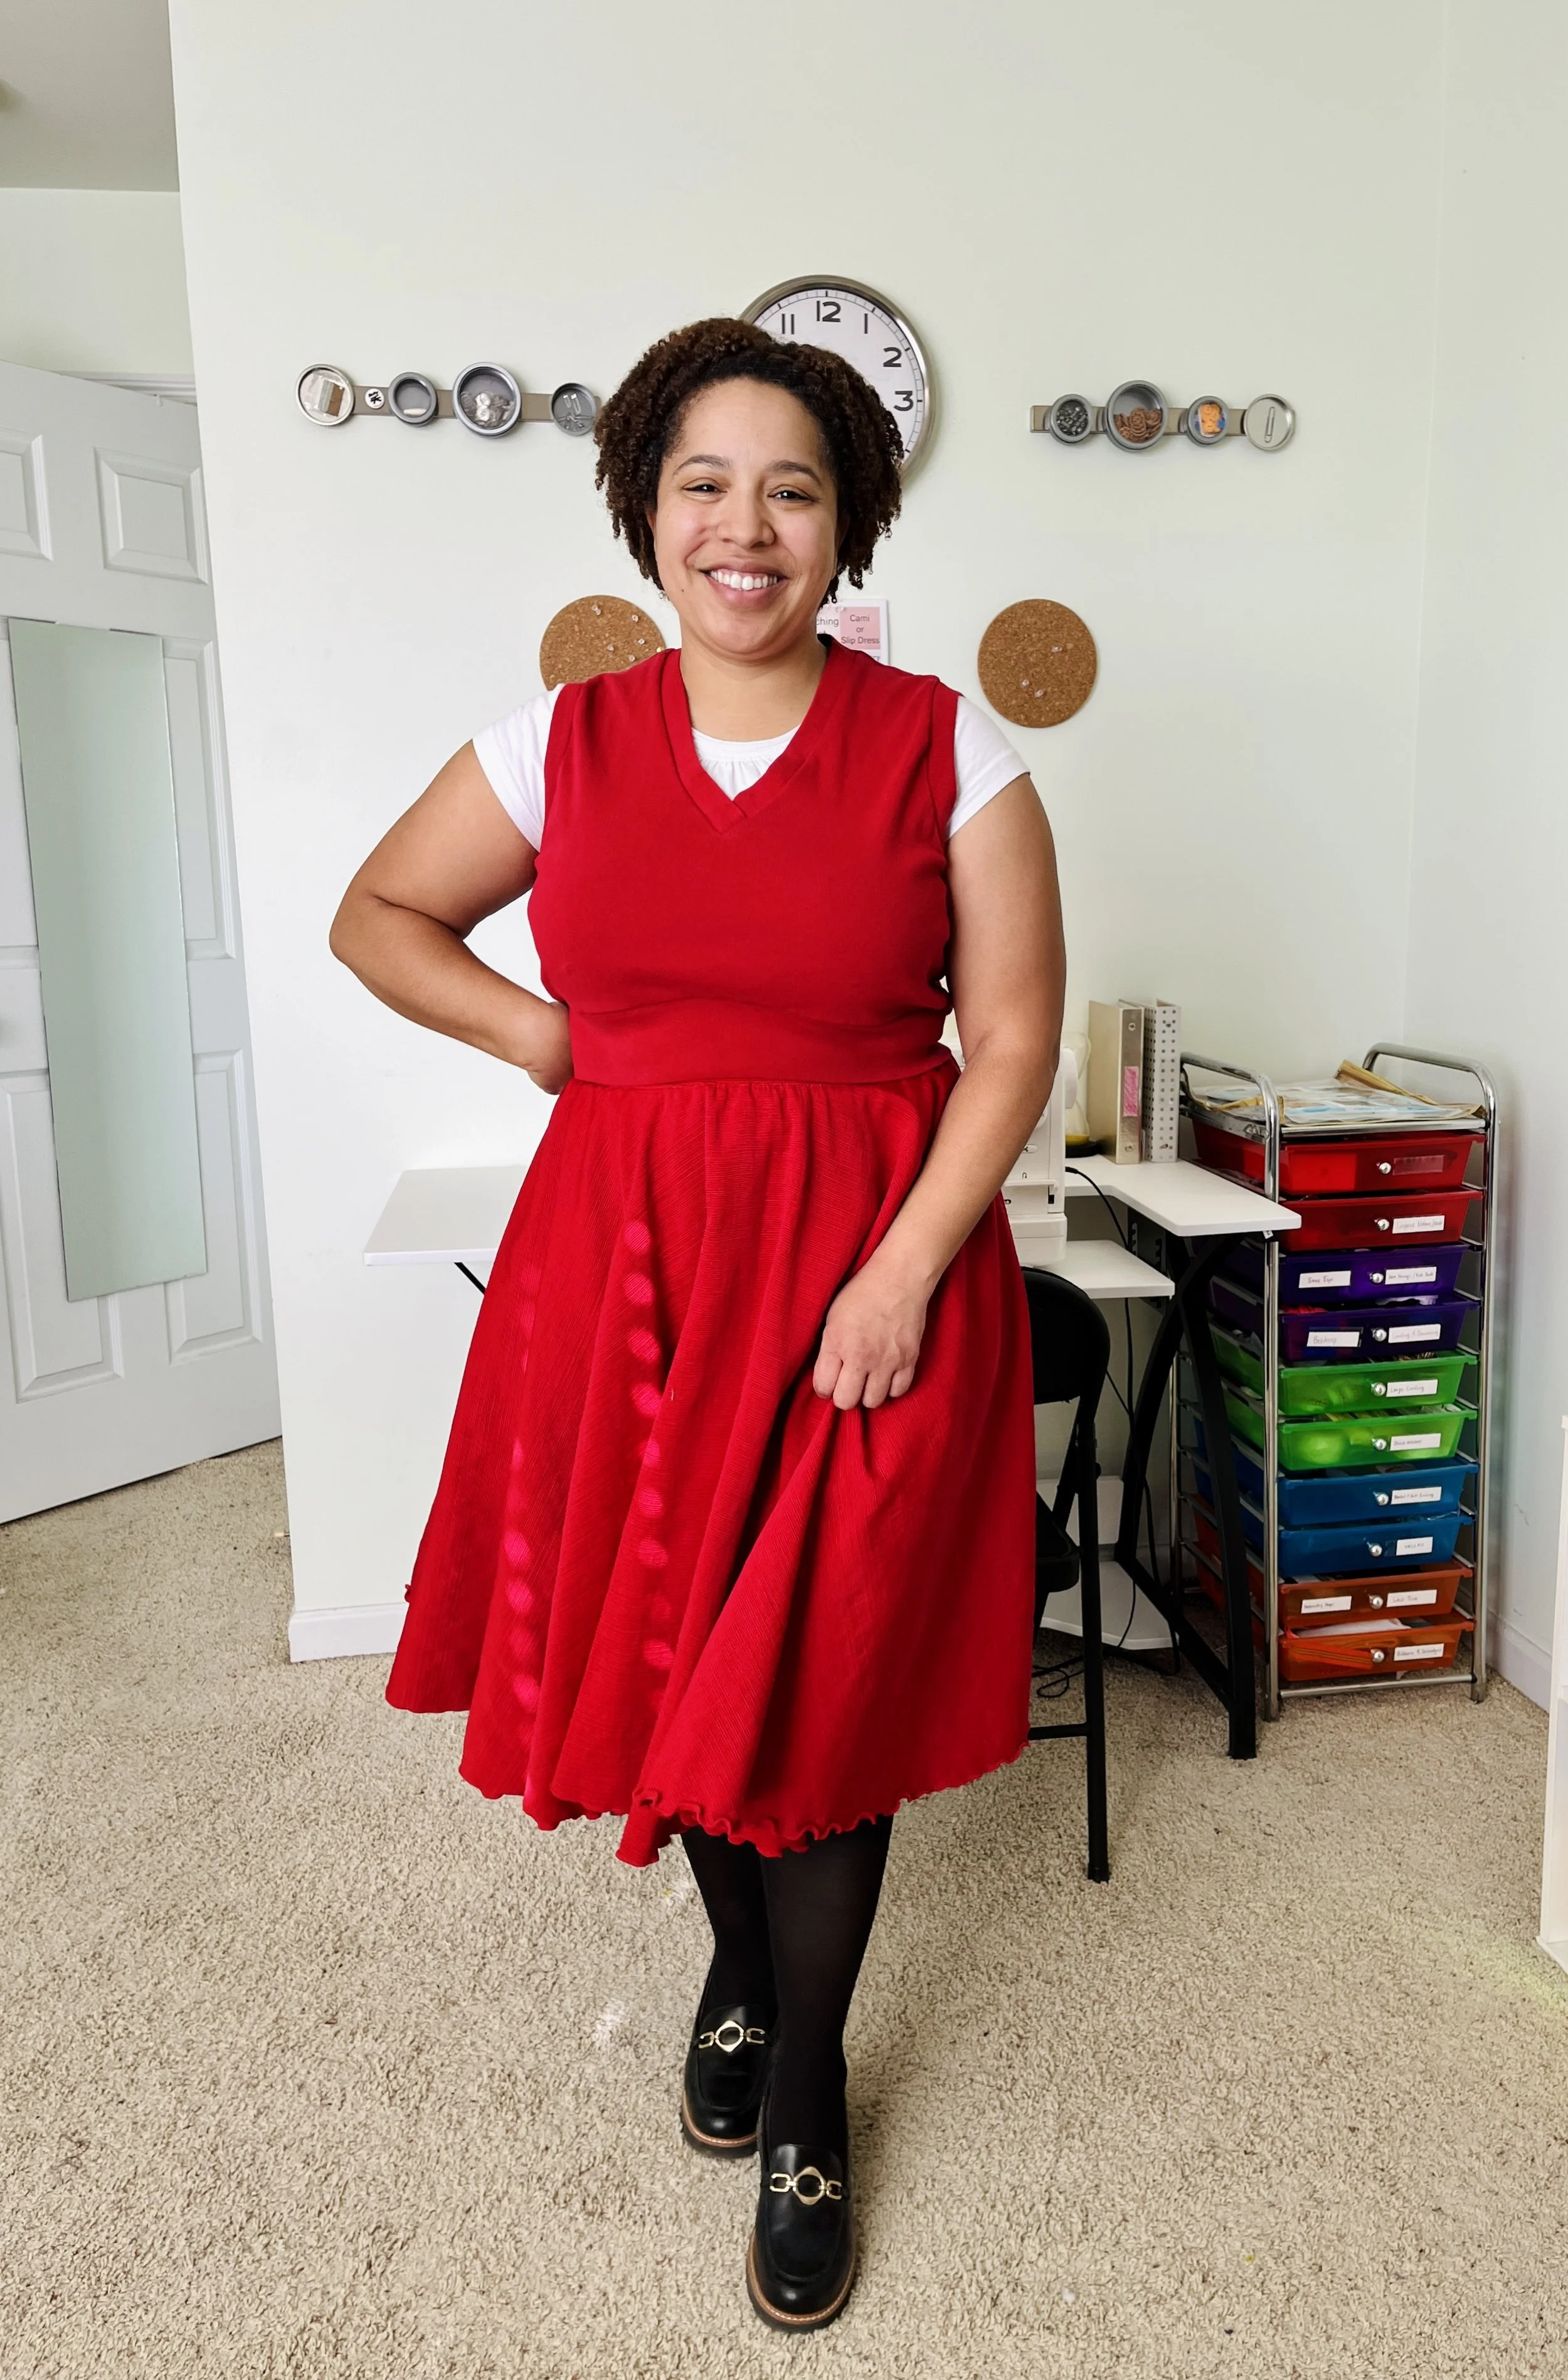
The lettuce hem adds a playful touch and I didn’t have to do anything to achieve it :)

I didn’t time myself, but this project took around 30 minutes for me to complete. If you’re a complete beginner it will likely take longer and it’s entirely possible that it won’t turn out exactly how you want. Still, it’s totally worth it to try and create something with your own two hands!
Am I sad that my skirt doesn’t have pockets? Honestly no, because I accomplished my goal of a stylish skirt in record time, but if I change my mind, I have this magical thing called a sewing machine and I’ll make it happen!
Thanks so much for stopping by my blog today! I hope you found this post useful!
Happy Sewing!